Introduction
This software connects your ZKTeco attendance device to the school management system built with PHP and Laravel. It allows automatic student attendance synchronization directly from the device to your web application.
It is compatible with WAMP, XAMPP, or Laragon environments running PHP 8.3+ and Composer. This document explains how to install, configure, and automatically start the software every time your computer boots.
System Requirements
- PHP: Version 8.3 or higher (Check with
php -v) - Composer: Latest version (Check with
composer -V) - Server Stack: XAMPP, Laragon, or WAMP (any one)
- Windows OS: Required for BAT auto-start functionality
- ZKTeco Device: Properly connected via LAN (same network)
Installation Steps
- Install XAMPP or Laragon on your Windows computer.
- Clone or extract the project folder (for example:
G:\attendance-zkteco). - Open Command Prompt and navigate to the project folder:
cd G:\attendance-zkteco - Run the following commands one by one:
composer install php artisan key:generate php artisan migrate - Ensure your ZKTeco device IP and credentials are configured properly in the application.
Run the Project Manually
Once installed, you can run the software using the built-in BAT file. This automatically starts the Laravel server and attendance sync command.
📄 BAT File Example:
@echo off
        :: Change to your project directory
        cd /d G:\attendance-zkteco

        :: Optional: Set PHP path if not in system PATH
        :: set PATH=C:\xampp\php;%PATH%

        :: Start Laravel development server
        start "Laravel Server" php artisan serve --host=127.0.0.1 --port=8000

        :: Start Attendance Sync Command
        start "Attendance Sync" php artisan zkteco:sync

        :: Keep the window open
        pause
Save this file as:
G:\attendance-zkteco\start_attendance.bat
You can now double-click this file to start everything automatically.
Auto Startup Setup (Run Automatically on Boot)
- Press Windows + R to open the Run dialog.
- Type
shell:startupand press Enter. - This will open your system’s Startup Folder.
- Create a shortcut here pointing to:
G:\attendance-zkteco\start_attendance.bat - Now, every time Windows starts, the system will:
- Launch Laravel server
- Start the ZKTeco attendance sync process
- Run silently in the background
Important Notes
- Always verify device IP and connection status after network changes.
- First-time setup requires a manual attendance fetch to initialize student data.
- Ensure your
start_attendance.batfile remains in the same directory. - Keep XAMPP/Laragon running if your app depends on MySQL locally.
- If PHP is not recognized, add PHP’s path to your system environment variables.
Troubleshooting
- Issue: Laravel not starting
Fix: Check if port 8000 is free or update it in the BAT file. - Issue: Sync not working
Fix: Verify device IP, network, and runphp artisan zkteco:syncmanually. - Issue: Command window closes instantly
Fix: Addpauseat the end of the BAT file.
Step 1: Configure Device IP
First, change the IP configuration on your ZKTeco device. Do not delete existing configurations, just edit the IP to match your network. Make sure the device is reachable from your server.
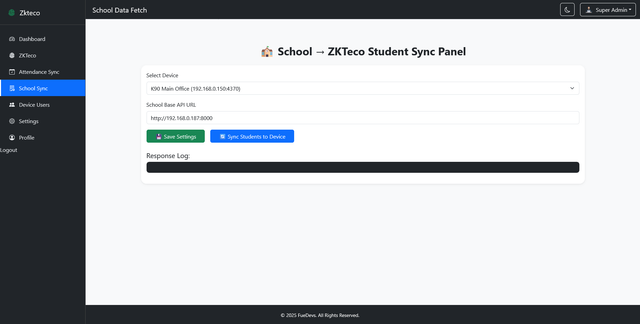
Step 2: Set Base URL in School Software
Go to /system/school-device in your school software. Select the device and enter the API base URL. Then, check if the device is connected and sync all student data for the first time. Always verify the connection before proceeding to ensure accurate attendance tracking.
Step 3: Run Software & Sync Data
After configuration, run the project using the provided .bat file. The software will automatically sync device data in real-time. You can also set your profile picture, password, and software settings from the profile section. The first-time sync must be done manually to populate all student data.
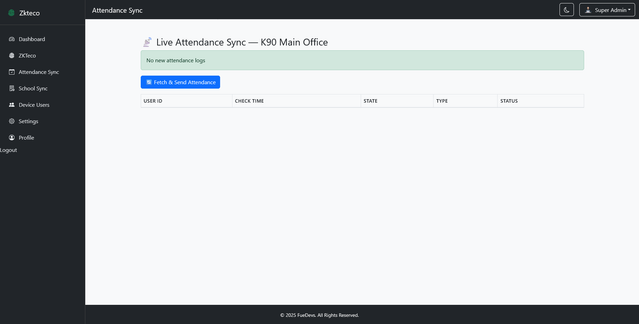
Dashboard
The Dashboard is the central control panel of the software. From here, users can:
- View device status and connection information.
- Monitor real-time attendance sync.
- Access all device operations like fetch, add, edit, or delete multiple devices.
- Check logs and troubleshoot issues manually.

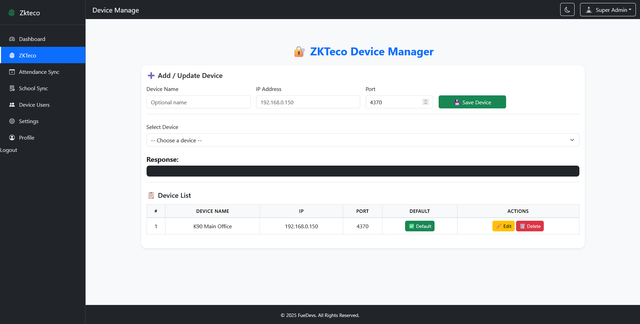
Device Management
From the Device Management menu, you can:
- Add, edit, or remove multiple ZKTeco devices.
- Verify device connectivity and IP configuration.
- Check the sync status of each device and trigger manual sync if needed.
If there is an attendance sync issue, you can manually fetch the data from the device to the live system at any time.
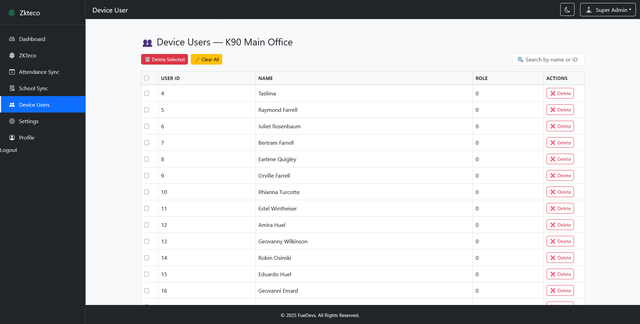
Device Users
From this menu, you can manage all users added to a device:
- View all users registered on the device.
- Delete single or multiple users at once.
- Manage user data including fingerprint, card, PIN, and other credentials.
- Add new users or update existing user information.
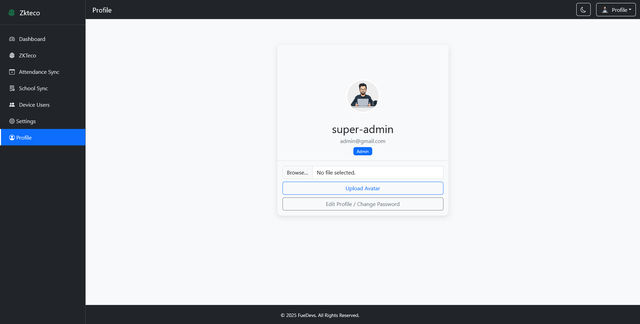
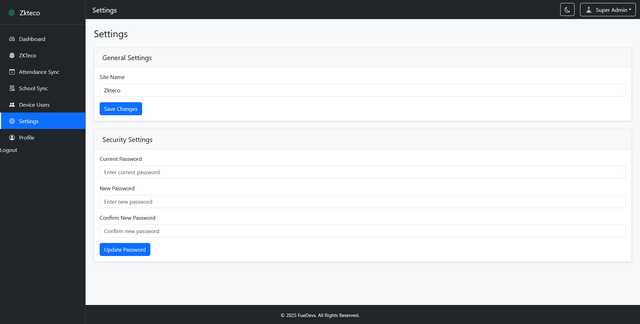
Settings & Profile
In the Settings menu, you can:
- Update system name and software preferences.
- Edit profile information including profile picture and password.
- Customize any configuration related to device sync and notifications.